Follow our simple step-by-step guide to install your Chakow Dual Bidet in minutes. No special tools or plumbing experience required!
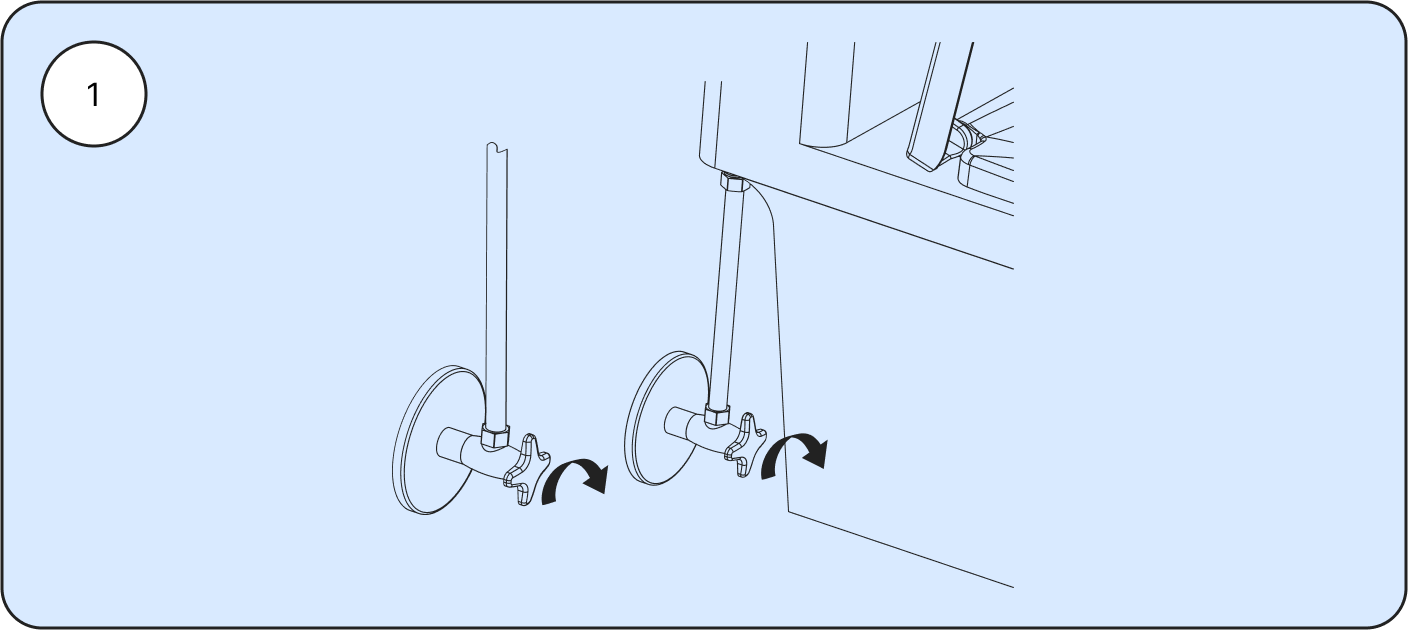
Turn off the water supply valve located behind the toilet by turning it clockwise until it's fully closed. After the water supply has been cut off, empty your tank by flushing the toilet until little to no water is left in the tank.
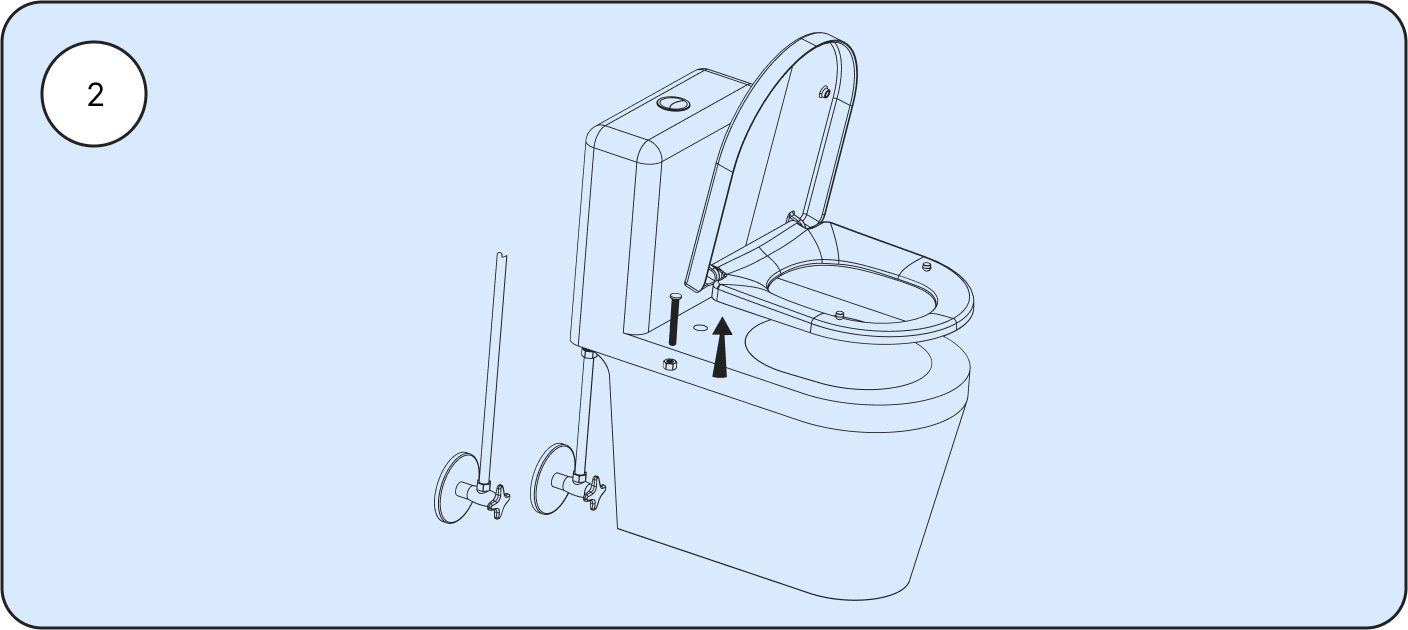
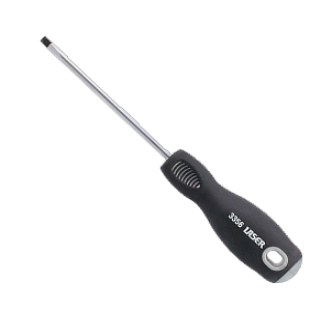
Unscrew and remove the existing toilet seat from the toilet bowl. Use a screwdriver to carefully detach the seat from its hinges. Set aside the toilet seat and keep the screws in a safe place.
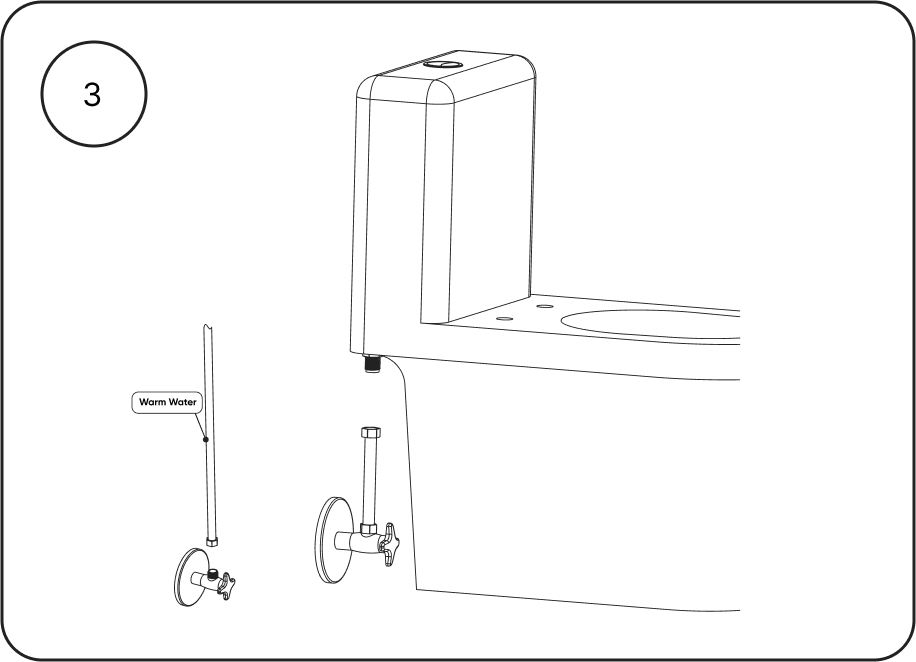
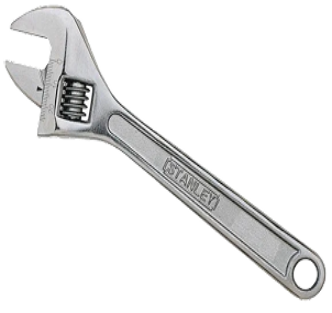
Unscrew the existing water supply hose connected to the bottom of the toilet tank using an adjustable wrench. Make sure to hold a container underneath to catch any water that may come out.

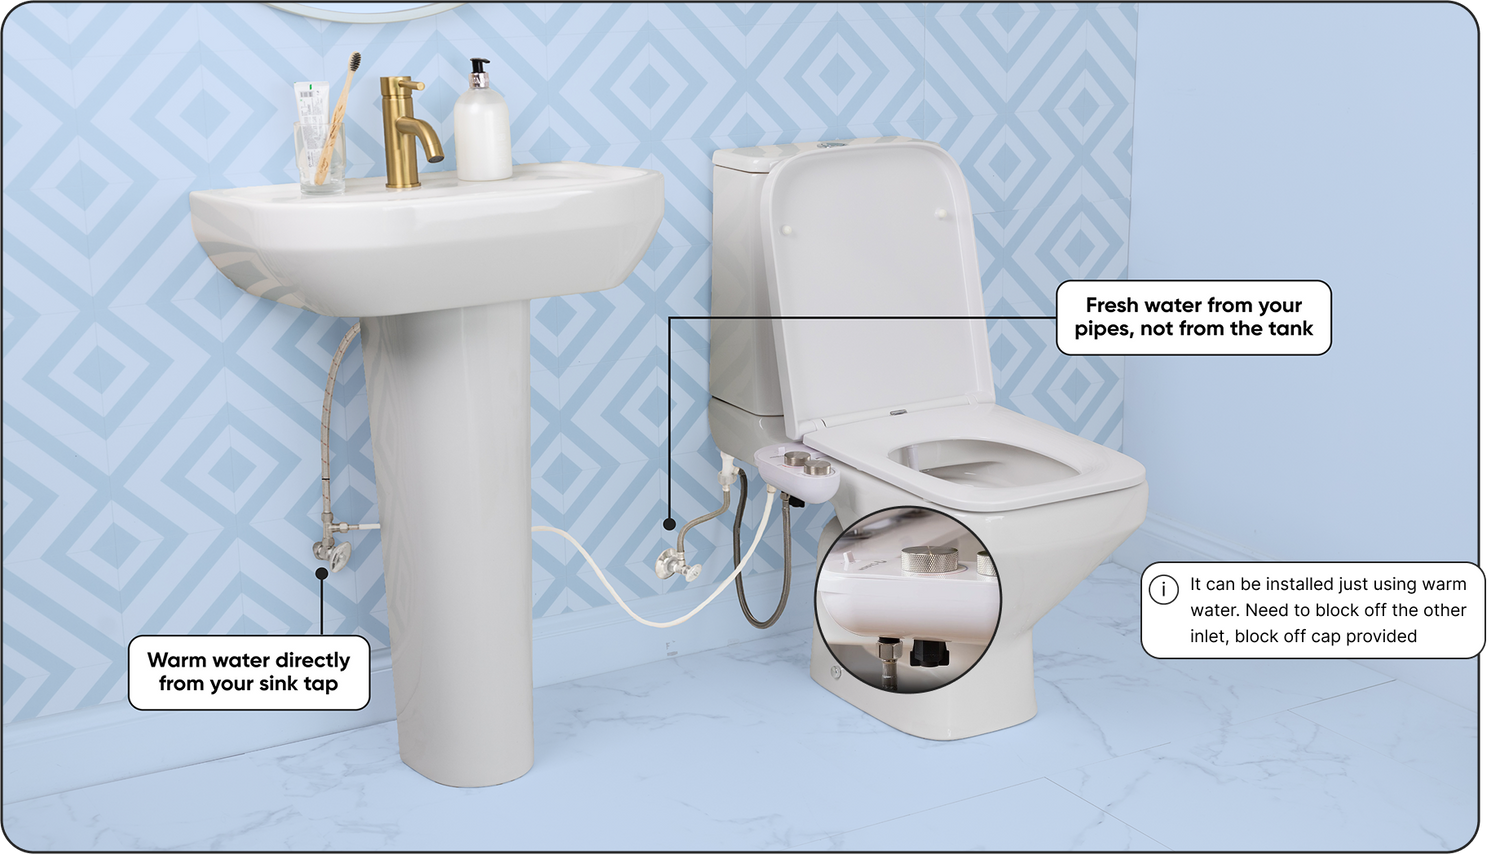
Take the T-valve provided in the Chakow bidet kit and screw it onto the water outlet located at the bottom of the toilet tank. Make sure it's tightly secured.
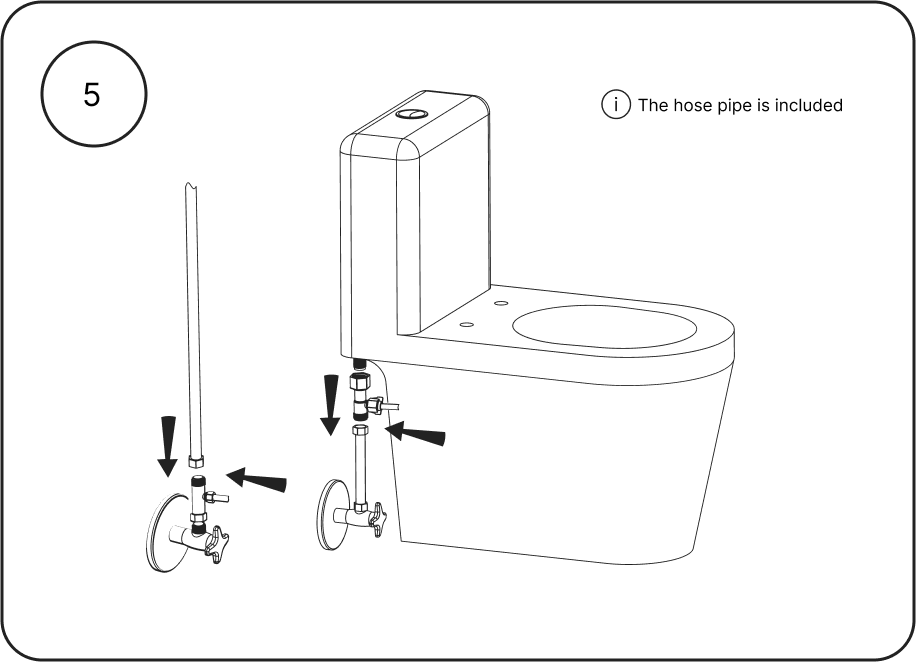
Take one end of the water supply hose from the Chakow bidet kit and attach it to the T-valve's open end. Tighten the connection with an adjustable wrench.
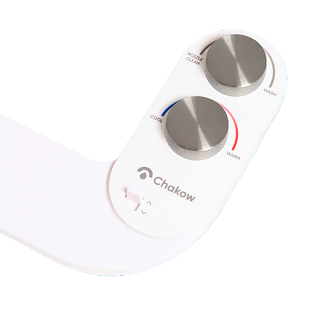
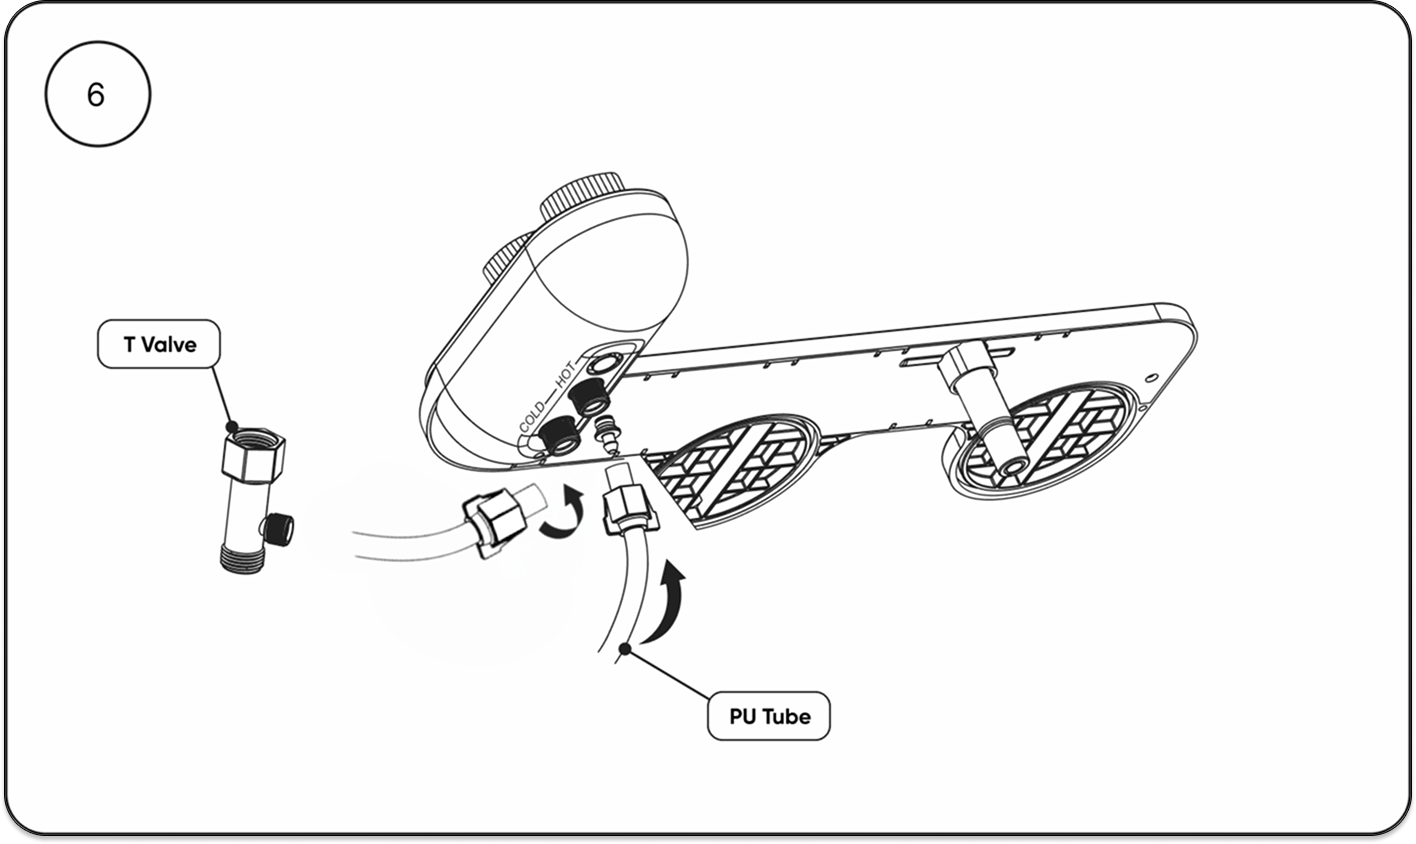
Attach the flexible PU tube to the bidet’s water inlet, The push-fit installation system ensures a leak-free, secure connection. Be sure to check your bidet’s specific instructions for any variations.
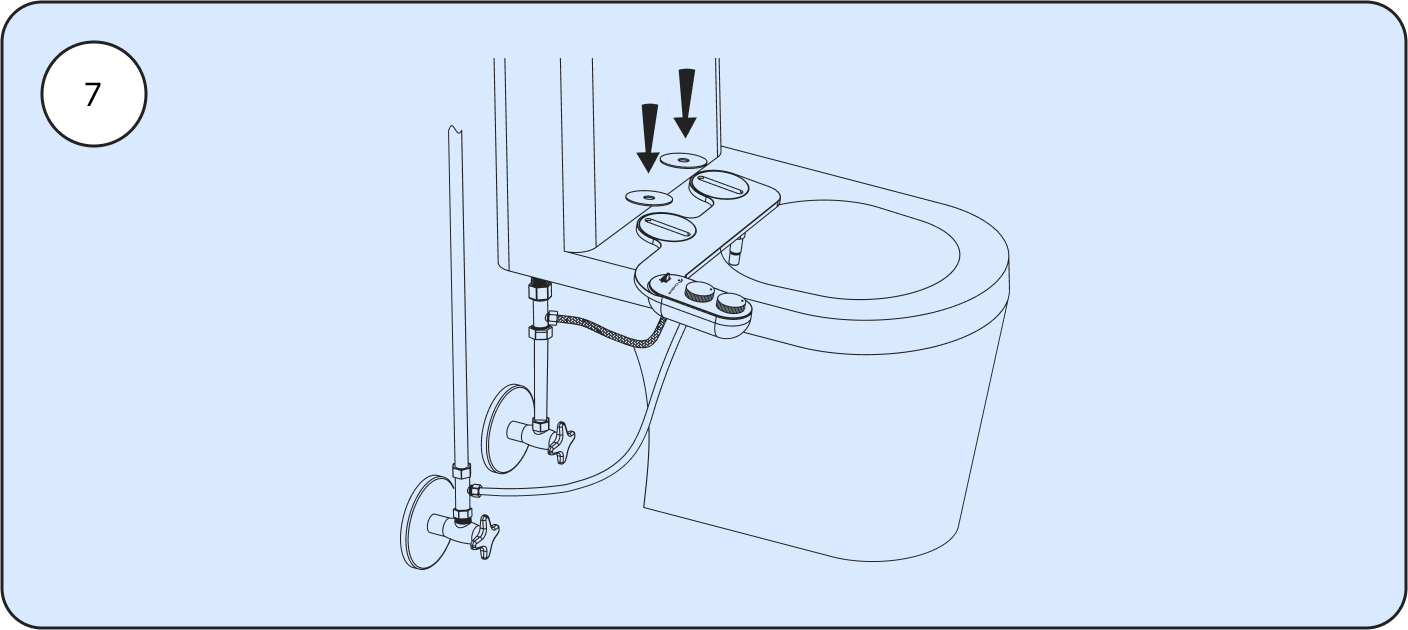
Position the bidet on the toilet bowl, ensuring the nozzles are correctly angled. Align the mounting holes and secure it tightly with the provided screws. Check for leaks and tighten connections or add Teflon tape if needed.
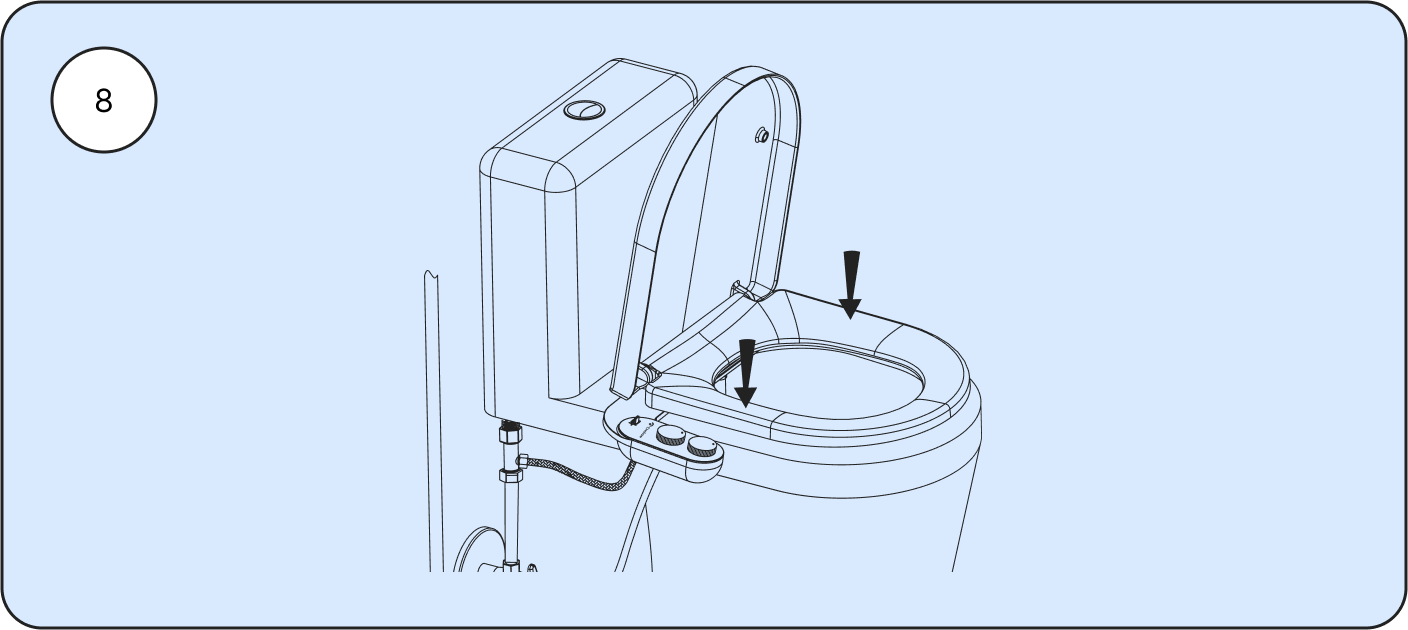
Place the existing toilet seat back onto the toilet bowl and align it with the mounting holes. Securely attach the toilet seat to the toilet bowl using the screws you set aside earlier.